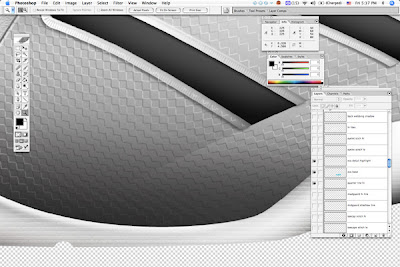
Rendering tutorial continued.
Click the Read More link below for more of the tutorial.
Now it starts to get into the details and adding addition 3D highlight and shadow cues.
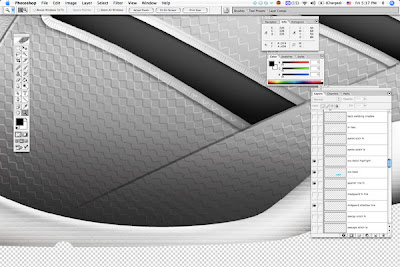
To bring out the edge of each upper part and make the rendering look less flat, I copy and paste lineart from the Illustrator artwork into the PS document on a new file. First, I bring in a black outline for each part approx. 2 pixels wide line thickness and add some blur. You can then go at it with the airbrush eraser tool as mentioned earlier to reduce the visibility in highlight areas.
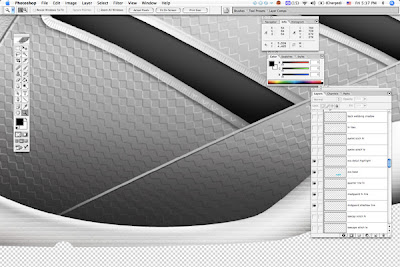
On top of this, I then copy and paste a white outline of equal thickness from Illustrator on top of the black line, with no blur for and edge highlight. Again, use the eraser to take out the impact of the line in key points.
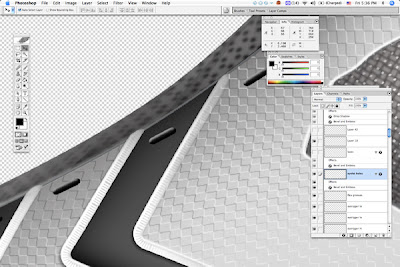
Other details, such as eyelet punched holes can be made using the paths in PS, filled with a solid color (ie. black) and using the layer effects to add emboss and highlight to simulate a quickie 3D look.
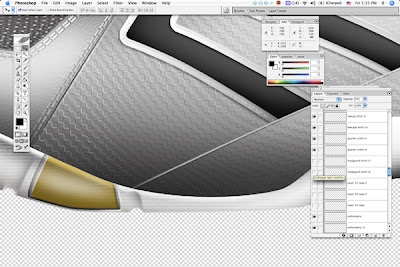
Another important detail that contributes to the realistic look of the rendering is stitching.
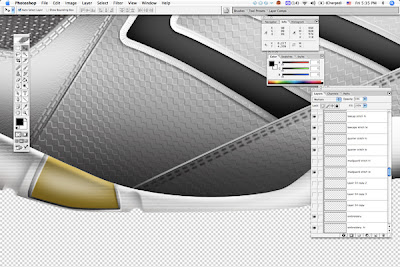
A stitching effect is quickly made by creating the stitching first in Illustrator (offset path, dashed line), then copying and pasting the stitches into PS. First I bring in a black row of stitches, and add some blur, setting the layer to Multiply and tweaking the opacity.
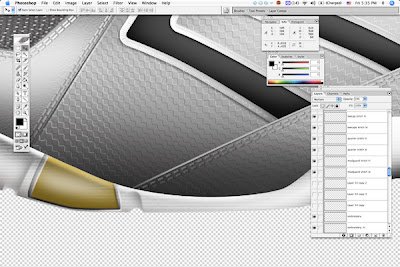
You can then bring in the same row of stitches in white, slightly offset, adjust the opacity and use the airbrush eraser on either layer to bring out a more dark or light effect depending on the area and curve of the panel.
Continued-
Part 6
Labels: design, photoshop, process, rendering, sketch, tutorial


0 Comments:
Post a Comment
<< Home